

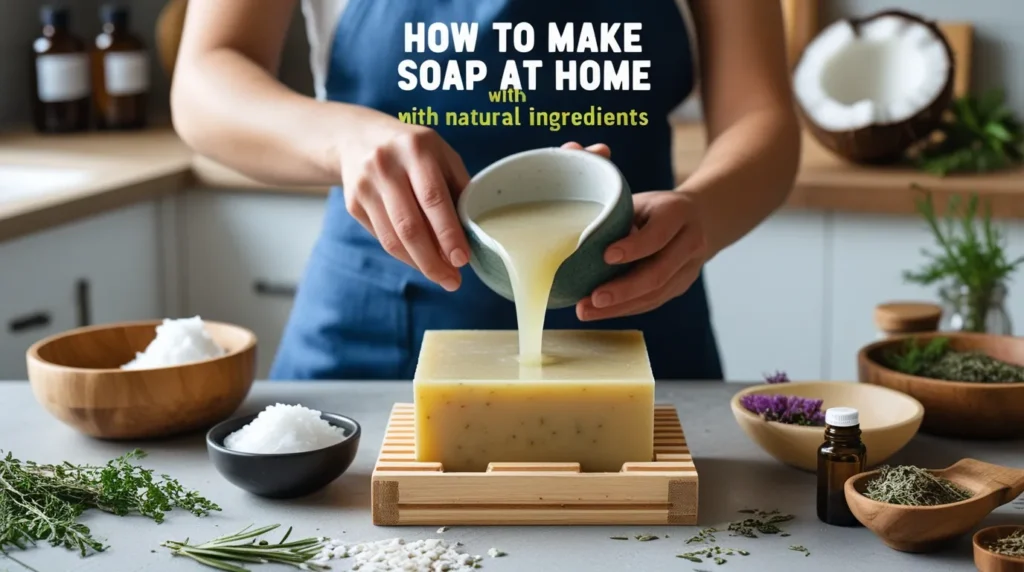
Making your own soap is more than just a craft; it’s a healthier lifestyle choice. If you’ve ever wondered how to make soap at home with natural ingredients, you’ll be happy to know it’s easier than it sounds. With the right oils, herbs, and a few basic tools, you can create bars that are safe, eco-friendly, and nourishing.
Unlike commercial soaps filled with chemicals, DIY natural soap gives you full control over what touches your skin. From organic soap making to experimenting with herbal soap recipes, the process is both fun and rewarding. Plus, soap making for beginners is budget-friendly and deeply satisfying.
Why Make Soap at Home Instead of Buying It?
Making your own soap is fun, cost-effective, and safer than many store-bought bars. Unlike commercial soaps filled with chemicals, DIY natural soap is made with skin-friendly oils and herbs. You control what goes inside, so you avoid harsh detergents that may dry or irritate skin.
Homemade soap also lets you experiment with scents, textures, and designs. Whether you want a simple cleansing bar or a luxurious organic soap rich in moisturizing oils, you’ll enjoy the freedom to create exactly what your skin needs.
Essential Natural Ingredients for Homemade Soap
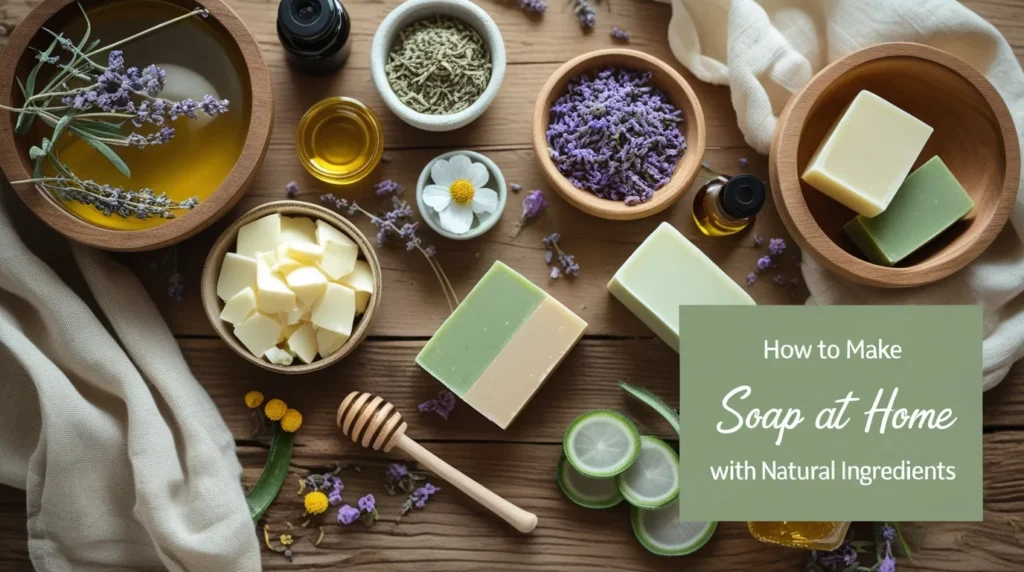
Every soap recipe starts with oils and butters. Olive oil gives gentle cleansing, coconut oil creates lather, and shea butter adds moisture. To make your bar unique, you can add essential oils, dried flowers, or natural colorants like turmeric or spirulina.
Most recipes also need lye (sodium hydroxide) for the saponification process. Don’t worry—it’s safe once it reacts with oils. The result is a mild, nourishing bar of soap perfect for everyday use.
Choosing the Right Oils, Butters, and Herbs
If you want a rich, creamy bar, use cocoa butter. For exfoliation, try ground oatmeal or natural exfoliants like coffee grounds. Herbs such as lavender or chamomile bring calming benefits, making your soap a true DIY skincare treat.
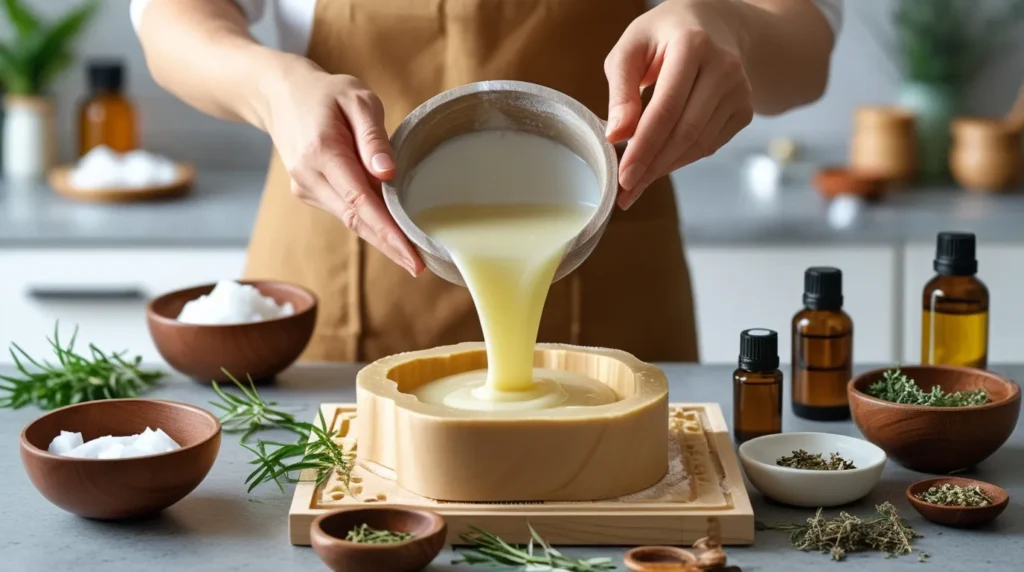
Step-by-Step Guide on How to Make Soap at Home with Natural Ingredients
To make soap, measure your oils and lye carefully. Heat the oils, mix lye with water, then blend until both reach a similar temperature. Slowly combine them, stir until thick (called “trace”), and pour into molds.
Let the soap set for 24–48 hours before removing it from molds. Cure the bars in a cool, dry place for 4–6 weeks. This curing period ensures a hard, long-lasting handmade beauty product that feels amazing on your skin.
Cold Process vs Hot Process Soap Making – Which is Better?
Cold process soap takes longer to cure but allows more creativity with swirls, colors, and delicate herbal soap making designs. Many beginners love this method for its smooth finish.
Hot process soap, on the other hand, cooks the mixture, making it usable within days. The texture is rustic, but it’s faster if you don’t want to wait weeks. Both methods make safe, chemical free soap once done right.
Safety Tips When Making Homemade Soap
Working with lye means safety comes first. Always wear gloves, goggles, and work in a well-ventilated space. Never pour water into lye—always pour lye into water slowly.
Keep children and pets away during soap making. Remember, once the saponification process is complete, no lye remains in your finished bar, making it gentle and safe.
Best Herbs, Essential Oils, and Natural Additives for Soap
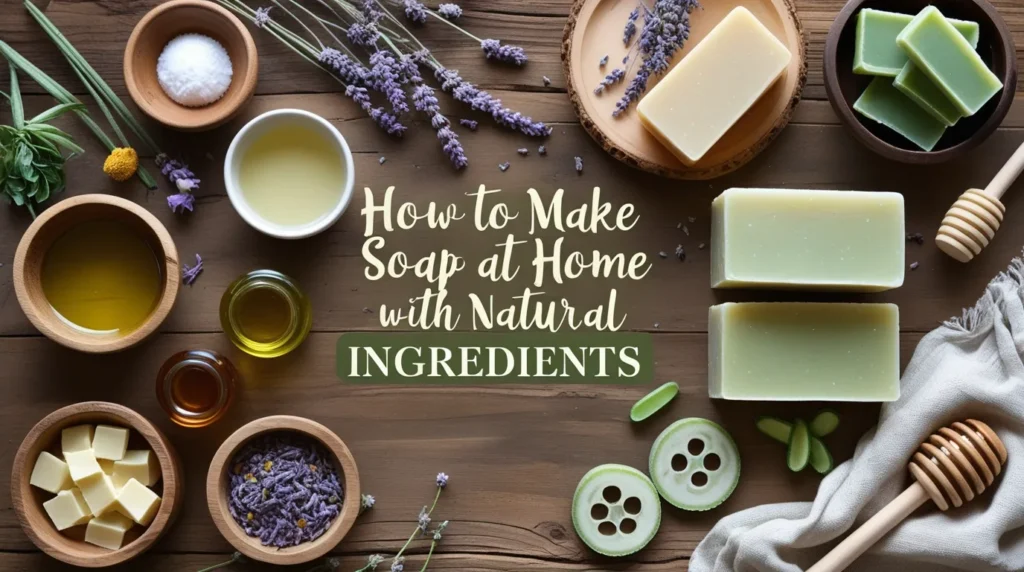
Adding herbs and oils not only smells great but also helps your skin. Lavender essential oil relaxes, tea tree oil fights acne, and oatmeal calms irritation. Natural clays like bentonite or French green clay add both color and cleansing properties.
You can also try adding aloe vera gel, goat’s milk, or honey for extra nourishment. These skin-friendly ingredients give your soap healing, moisturizing, and soothing qualities.
Healing Properties of Natural Soap Ingredients
Chamomile calms redness, peppermint refreshes tired skin, and turmeric adds glow. These simple plant-based butters and herbs turn your soap into an eco-friendly wellness bar.
Common Mistakes Beginners Make and How to Avoid Them

One mistake is rushing the curing process. If you use your soap too early, it may feel soft and melt quickly. Be patient and allow full curing time.
Another mistake is skipping safety steps. Always measure carefully and follow recipes exactly. Small errors in the soap curing time can affect the quality of your bar.
Creative Soap Recipes to Try at Home
Try a moisturizing olive oil soap for dry skin or a refreshing peppermint and charcoal soap for oily skin. If you love luxury, whip up a goat’s milk and honey bar for extra softness.
For those new to soap making for beginners, start with a simple castile soap recipe using just olive oil, water, and lye. It’s gentle and perfect for daily use.
Storing, Curing, and Packaging Your Natural Soap

Once cured, store your bars in a dry, cool place. Don’t wrap them until fully hardened, or they may sweat and spoil. A breathable box or basket works best.
For gifting or selling, wrap your soap in eco-friendly paper, kraft boxes, or biodegradable film. Attractive packaging makes your handmade beauty products look professional.
Benefits of Using Homemade Soap with Natural Ingredients
When you use natural soap, you enjoy a bar free from sulfates, parabens, and artificial fragrances. It’s not only better for your skin but also safer for the environment.
With eco-friendly soap making, you reduce plastic waste and harmful chemicals. You’ll notice softer, healthier skin and the joy of knowing you made it yourself.
Quick Comparison Table: Cold vs Hot Process Soap
| Method | Cure Time | Texture | Best For |
|---|---|---|---|
| Cold Process | 4–6 weeks | Smooth | Creative designs |
| Hot Process | 1–2 weeks | Rustic look | Quick use soaps |
Immune System Boosters Natural Ways to Strengthen Your Immunity
FAQs
What is the best natural ingredient for soap?
Olive oil is the best natural ingredient because it’s gentle, moisturizing, and suitable for all skin types.
How to make soap at home without chemicals?
Use the melt-and-pour method with a natural soap base, then add herbs, oils, or essential oils for fragrance.
What is the simple formula for soap?
A basic soap formula includes oil (like olive oil), water, and lye, which create soap through saponification.
How to make soap at home with natural ingredients without lye?
Choose a melt-and-pour soap base, add natural butters, herbs, and oils, then pour into molds to set.
What is the easiest way to make homemade soap?
The easiest method is melt-and-pour, which skips lye handling and lets you customize with natural additives.
What is the best chemical free soap to use?
Handmade soaps made with organic oils, herbs, and essential oils are the best chemical-free options.
Which homemade soap is best for skin?
Goat’s milk soap and olive oil soap are best for skin because they’re gentle, soothing, and nourishing.
How long does homemade soap need to cure?
Cold process soap usually needs 4–6 weeks to cure fully for safe and long-lasting use.
What are the three main ingredients of handmade soap?
The three main ingredients are oil or fat, water, and lye, which combine to make soap.
Can homemade soap go bad?
Yes, homemade soap can go bad if stored improperly, often developing rancid smells or spots.
How to tell if soap is fully cured?
Fully cured soap feels hard, light, and no longer sticky, with a balanced, mild pH level.
What happens if you don’t cure soap?
Uncured soap may feel soft, dissolve quickly, and still contain excess water or harsh lye.
How to store soap after making?
Store cured soap in a cool, dry, and well-ventilated place, away from moisture and direct sunlight.
What kind of lye is used for soap making?
Sodium hydroxide (NaOH) is used for bar soap, while potassium hydroxide (KOH) is for liquid soap.
When to cut soap?
Cut cold process soap 24–48 hours after pouring, while it’s firm but not fully hardened.


Pingback: Is Bhad Bhabie A Good Person? Fame, Fans & Controversies